Flavorful Beer Can Chicken Recipe
For great tasting grilled chicken, this beer can chicken recipe is the way to go. A dry rub seasons the outside of the bird, while some intense flavors in the beer can add taste to the inside.

What Kind of Beer?
Actually, you can use any kind of canned beer you like. Or you can use soda pop. It really doesn't matter what you use. It's not the liquid in the can, but the seasonings in the liquid that add the flavor as it grills.
A nice, spicy poultry rub makes all the difference in the world with a grilled or smoked chicken. Be sure to season inside and out for the best flavor.
Beer Can Chicken Recipe
Billy's Chicken Rub
This is the seasoning that goes on before the can goes in.
- 1 teaspoon salt
- 1 teaspoon black pepper
- 1 teaspoon paprika
- 1 teaspoon sugar
- 1 teaspoon dried rosemary
- 1 teaspoon celery salt
- 1 teaspoon onion powder
- 1/2 teaspoon garlic powder
- 1/4 teaspoon sage
Mix well and coat all sides of the chicken, inside and out. Let the seasoned chicken rest for a bit in the fridge as you mix up the...
Magic Liquid in a Beer Can
Use beer, pop, or drink the beer and use water. That's what I do.
- 1 can
- 1/2 cup liquid (beer, pop, water, wine...)
- 4 cloves garlic, chopped
- 1 teaspoon anise seeds, crushed
- 1 teaspoon cracked peppercorns
-
juice of 2 limes
Combine these ingredients and put 'em in the can. Insert the can into the chicken and get ready to grill!
The Grill
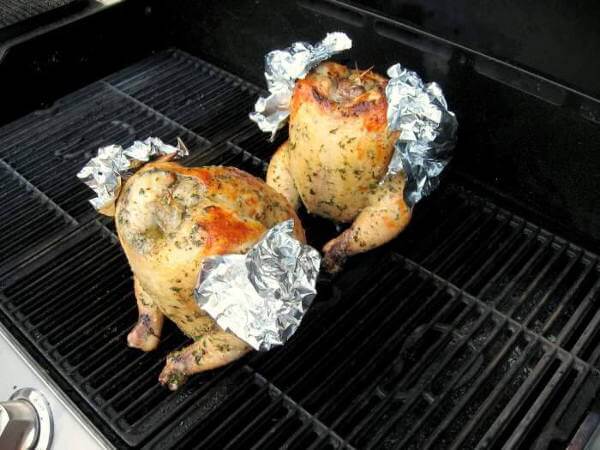
Preheat the grill to medium high heat. This recipe calls for the indirect grilling method, so keep the heat to the sides of the grill, and not directly under the chicken.
To give the chicken more flavor, use a wood chip container in your grill to give it some smoke. If you don't have a metal wood chip box to use, wrap 1/2 cup of wood chips inside a packet of aluminum foil.
Place this under the grate, directly over one of the burners.
Keeping the Chicken Upright
I've grilled and smoked lots of chickens on cans, and never had a tip-over accident. I haven't used one of those fancy can holders, but I would if I had one.
If you are using just a can, carefully position the chicken upright, leaned forward a bit with the legs helping keep the balance.
If you have a platform to hold the can securely, put the can in the holder and the holder in the chicken and the chicken in the grill.
Grilling the Chicken
With the chicken positioned in the grill, close the lid and wait it out. Try not to check the chicken too often. Every time the lid is opened up, you can figure on adding ten minutes to the cooking time.
The chicken will take from 1-1/2 to 3 hours to cook, depending on the temperature of the grill and the impatience of the chef. (Remember what I said about opening up the lid?)
The Tricky Part
Now comes the hard part. Removing the can. And it can be a little dangerous, too. An extra pair of hands comes in very handy right now.
Be careful that you don't spill any of the liquid from the can onto yourselves when pulling it out. The can tends to stick a little, so beware.
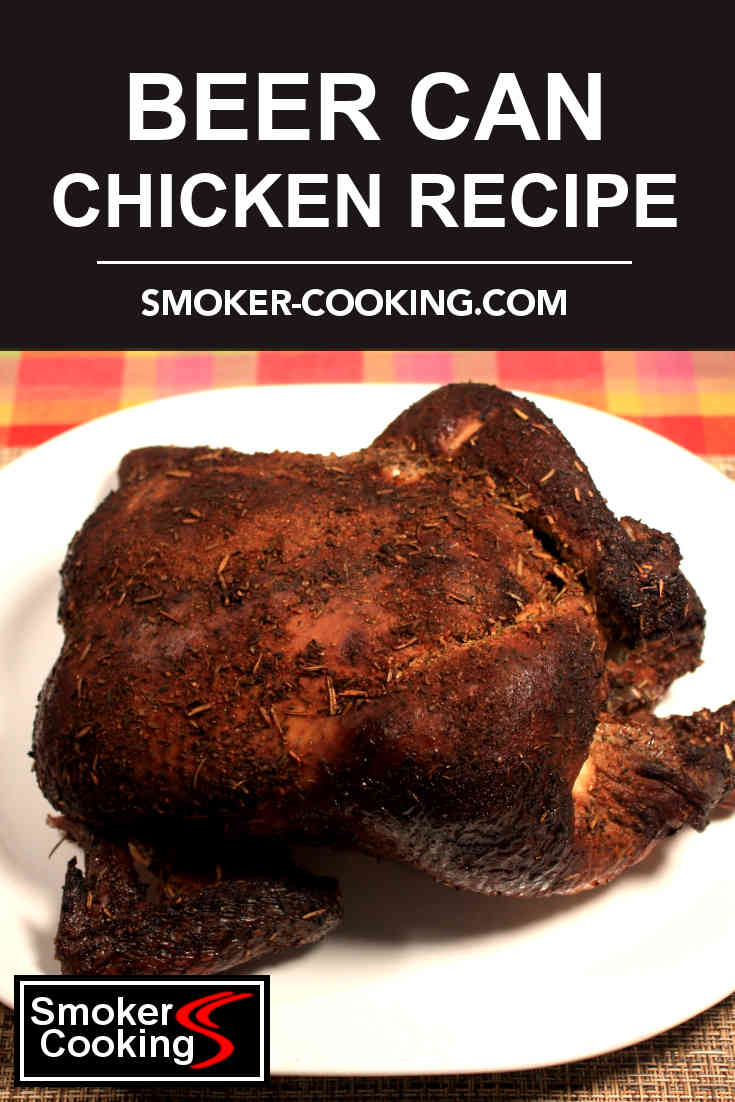
Once the can is out, let the finished beer can chicken rest for 10 to 15 minutes, then dig in. The flavor, the moistness, and the crispy skin all join together to make this chicken dish a real people pleaser!
- You Are Here: Home >
- Recipes >
- Smoked Chicken >
- Chicken On a Can

